by Jean-Pierre Lapointe & Denis Vallée, Technologies Optim
Inc.
(c) Copyright 1998, Technologies Optim Inc.
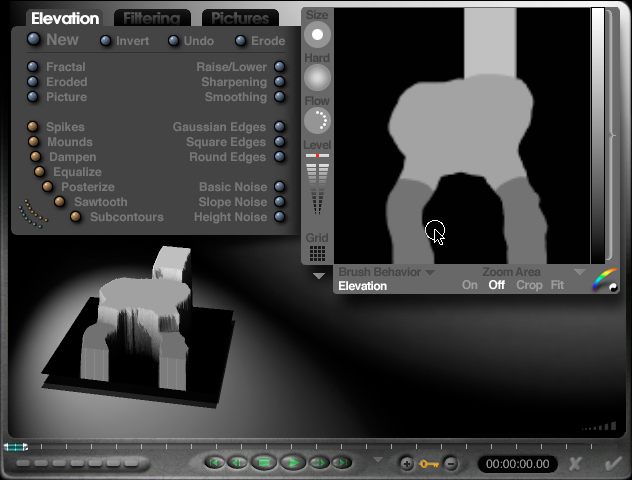
Create a new mountain and select "Edit Terrain/Object". Select then "Picture" and import the Waterfall01.tif file. As you can see, the elevation represents only the water surface.
Click on "Grid", select "512 — ultra-fine", and click the checkmark.
Associate a new familly to this object. Give it a brown color and name the familly "River Bed". (Ref.: Step 2)
Import the "Wet Rock" texture from the WetRock.mat file, and apply it to the new river bed object. (Ref.: Step 10)
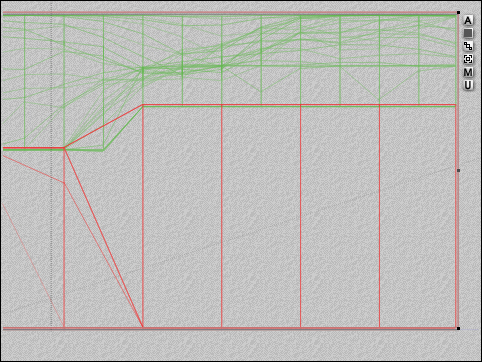
With the “From Right” camera view, place the new river bed object so that the top of it is just over the bottom of the green mountain object. The top of the river bed object should slightly overlap the bottom of the green surface. Then the rocky brown texture will be over the green texture and create the river bed. The following figure shows the rightmost end of both objects from the “From Right” point of view.
Create another mountain and select “Edit Terrain/Object”. Select then “Picture” and import the Waterfall02.tif file. This elevation represents the second part of the river bed surface. Click on “Grid”, select “512 — ultra-fine”, and click the checkmark. Then associate the "River Bed" familly to this new object.

Now place the second river bed object in front of the first one (along the Z axis) and fine-tune its position so that the endings of both river bed objects match.

Go back to the “Director” view and click the “Render” button. You should get a result like the following one.
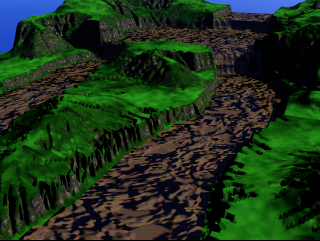
Save your project!